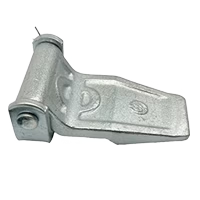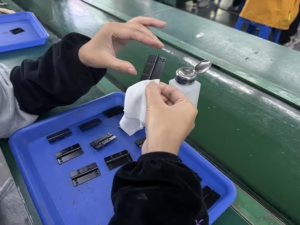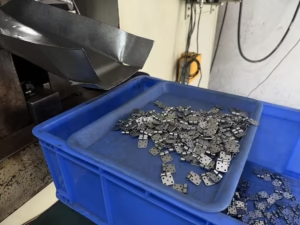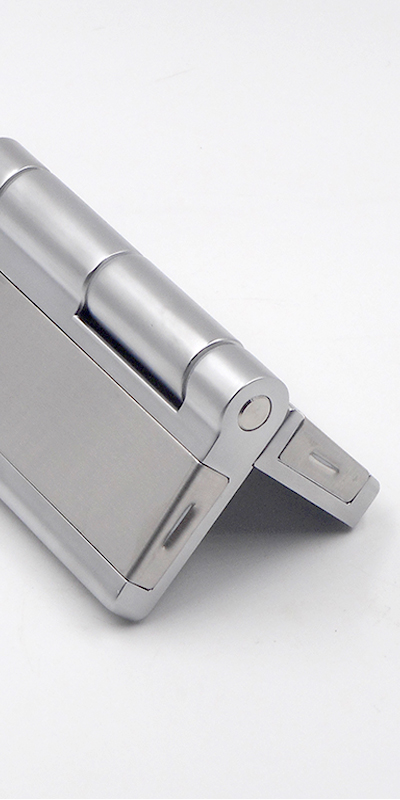

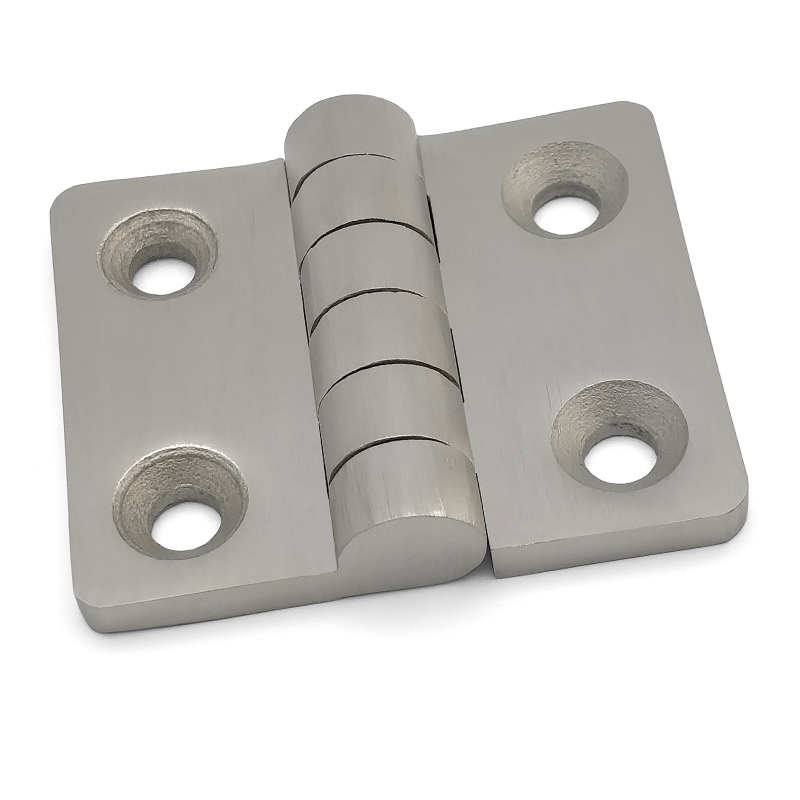
Butt hinges are crucial for doors, panels, and enclosures in industrial equipment and sheet metal fabrication.
To install a butt hinge properly, mark and align the hinge location, mortise or surface-mount depending on the application, pre-drill pilot holes, and secure with suitable fasteners. Precision alignment and hinge orientation are key to long-term performance, especially for heavy-duty or customized enclosures.
Here’s how to get it right from the start.
Understanding Butt Hinges in Industrial Applications
Butt hinges serve as essential mechanical joints in many industrial products, from control panels to metal access doors. Unlike furniture hinges, these are engineered to bear heavy loads and operate in rugged environments. Typical configurations include standard butt hinges, ball bearing butt hinges, and specialized designs like electrified butt hinges, which allow electrical connections through the hinge itself — common in smart or automated enclosures.
In high-vibration or corrosive settings, selecting the correct hinge type is critical. For example, 316 Stainless Marine Friction Hinges are ideal for marine or coastal equipment due to their corrosion resistance and built-in torque control. On the other hand, Heavy Duty Continuous Hinges offer enhanced strength and even load distribution, suitable for large metal doors or wide industrial panels.
Tools and Materials Required for Accurate Installation
For a successful installation, proper tools are just as important as the hinge itself. You’ll need:
-
A precision caliper or ruler for layout
-
Center punch
-
Electric drill with variable speed
-
Hinge mortising tool (optional, for recessed installs)
-
Industrial-grade screws or rivets
-
Screwdriver or torque-controlled driver
Using professional equipment minimizes misalignment and ensures a tight, secure fit. For surface-mounted installations, measuring accuracy and pre-drilling are essential to avoid cracking or thread damage — especially when working with aluminum enclosures or cold-rolled steel doors.
When installing on thicker industrial cabinets or frames, consider hinge size and load capacity. Always check the Hinge Weight Rating from your supplier to ensure compliance with the door’s total mass.
Preparing the Mounting Surface (Sheet Metal or Enclosure Panel)
Before installation, ensure that both the door and frame surfaces are clean, flat, and free of burrs. Begin by marking hinge positions with precision. For doors using two or more butt hinges, space them evenly—usually 5 inches from the top and 10 inches from the bottom, with any additional hinge centered between.
Clamp the hinge in place temporarily to test the swing arc and clearance. If installing on a stainless or aluminum panel, use a pilot hole drill bit appropriate for the metal gauge to avoid deformation or cracking. A misaligned pilot hole can lead to binding or reduced hinge life.
In applications requiring flush mounting, recess or mortise the hinge leaf to allow for a flat, even closure. This step is common in access doors or Electrical Panel Hinges where flush finishes are necessary for sealing or insulation purposes.
Surface-Mount vs. Mortised Installation Techniques
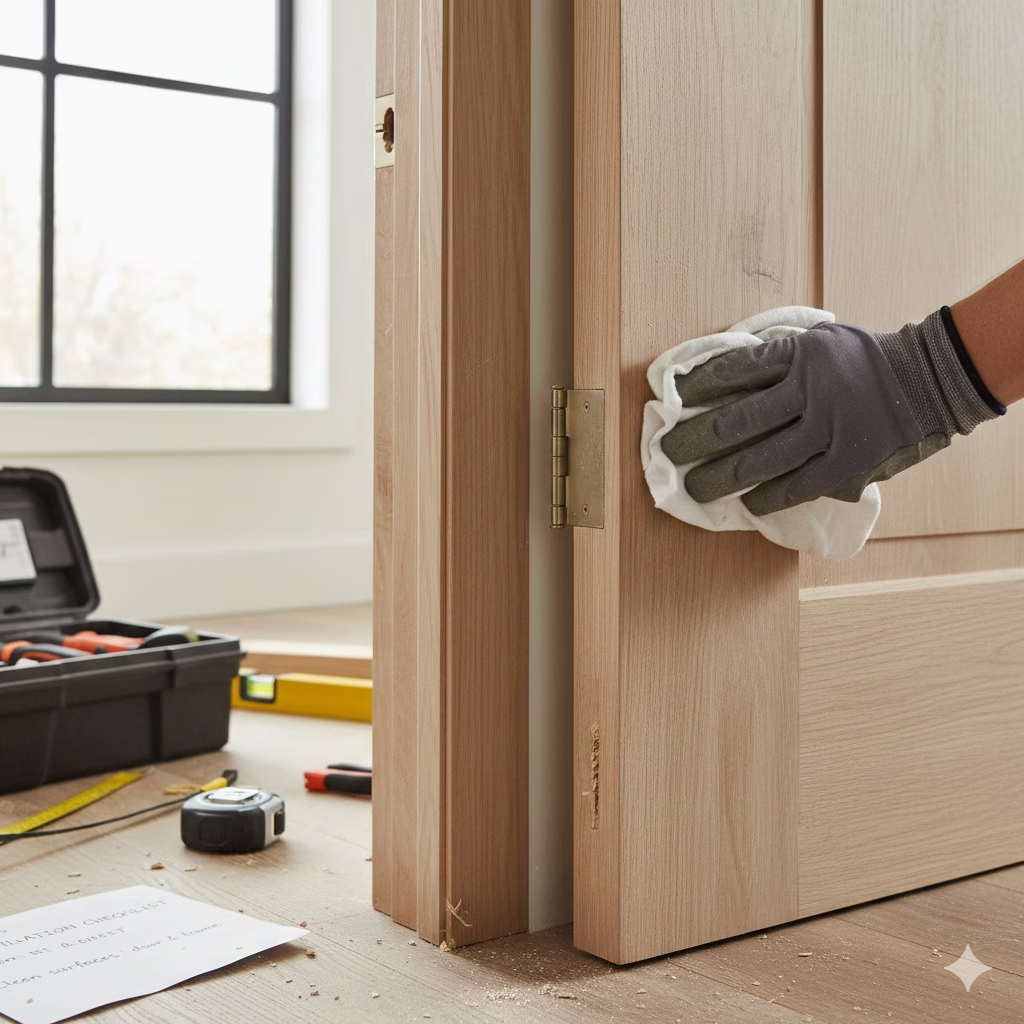
The method of hinge installation depends on your application. Surface-mounted hinges are faster and easier to install, especially on industrial cabinets and utility boxes. Mortised hinges are more secure and create a clean, recessed finish, often preferred in heavy-duty door frames.
Surface mounting involves aligning the hinge leaves on the surface of both the door and the frame, marking screw holes, and fastening directly. This is common for enclosures using Heavy Duty Flush Hinges or external access panels.
Mortising, however, requires cutting a recess into the edge of the panel and door. Use a mortising jig or router for consistent depth and size. This method ensures the hinge leaf is flush with the surface, which can improve sealing and reduce snag risk — crucial for cleanroom environments or test chambers.
Correct Installation Procedure: Step-by-Step Process
Step 1: Mark Hinge Location – Use a template or square to mark hinge placement on both door and frame.
Step 2: Pre-drill Holes – Use the appropriate bit size for your fasteners.
Step 3: Mortise if Necessary – If using recessed hinges, mortise both leaves to the required depth.
Step 4: Attach Hinge to Frame First – Always install on the frame before mounting on the door.
Step 5: Align and Secure Door Side – With the frame hinge fixed, align the door, mark holes, drill, and fasten.
Correct orientation is crucial. The hinge pin should face outward if external, and ensure no binding during opening/closing. For large industrial doors, support the weight during installation to prevent misalignment.
Aligning Hinges for Smooth Operation and Durability
Accurate alignment prevents sagging, binding, or premature failure. Use alignment jigs or temporary clamps to hold the door in place while fastening. Misalignment by even 1–2 mm can cause significant long-term wear, particularly in hinges supporting heavy duty exterior door hinges.
Use a level to verify door position both vertically and horizontally. After fastening, open and close the door several times to test the swing arc and resistance. If the door doesn’t close flush or resists opening, inspect for screw depth issues or misaligned pilot holes.
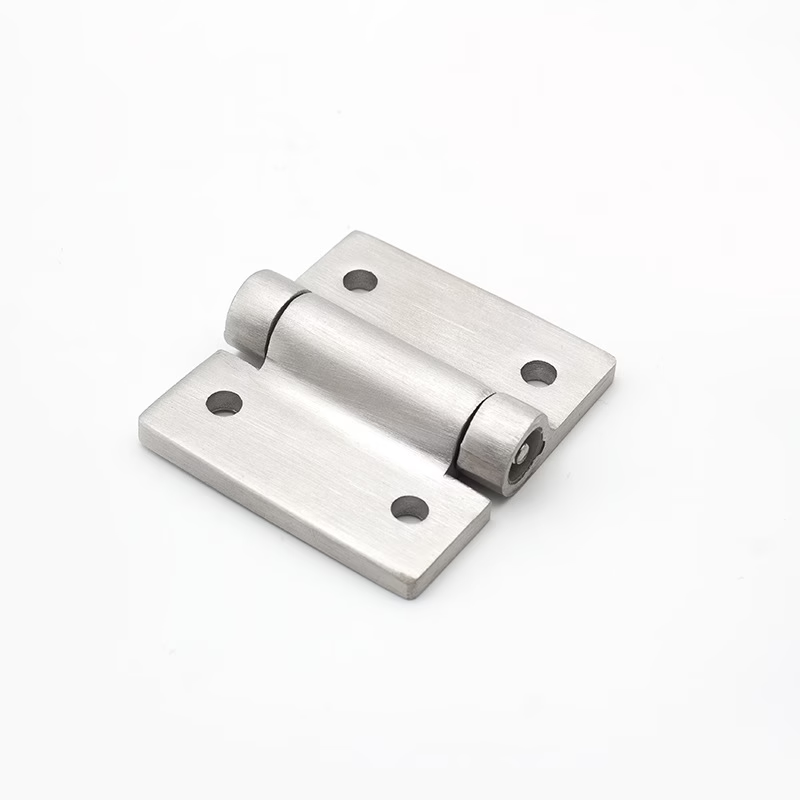
For applications requiring torque or resistance, Adjustable Friction Hinges can be tuned post-installation. This is helpful in enclosures that need to stay open at a specific angle without external support arms.
Special Considerations for Heavy-Duty or Custom Hinges
When working with heavy doors or panels, consider structural reinforcement. For example, with Heavy Duty Weld On Hinges, ensure welding surfaces are ground flat and clean. Use tack welds to test alignment before full welding.
Doors that experience high use or are located in demanding environments (e.g., factories, trailers) benefit from hinge types like Heavy Duty Detachable Barrel Hinges. These allow for quick door removal without loosening the hinge from the frame, reducing downtime during maintenance.
Custom applications may require special finishes, 3D models, or logo etching. Collaborating with a supplier like IHINGES offers OEM design support and engineering guidance for rare or high-performance hinge needs.
Maintenance Tips After Installation
Industrial hinges require regular inspection to ensure performance. Apply a light lubricant such as 3-in-1 oil every six months or more frequently in dusty or wet environments. Check fastener tightness periodically and look for signs of wear like rust, squeaking, or misalignment.
If the door starts to sag or bind, inspect for wear on the hinge pin or leaf and consider replacement. When upgrading, always match the hinge type and hole pattern — especially important when you Replace Industrial Door Hinges to avoid reworking the panel.
Conclusion
Installing a butt hinge in an industrial setting requires precision, the right tools, and awareness of application-specific requirements to ensure long-lasting performance.
At IHINGES, we specialize in manufacturing custom industrial hinges with years of experience serving global equipment manufacturers. If you need tailored hinge solutions—whether for control panels, metal enclosures, or heavy-duty doors—feel free to reach out. We understand your technical needs and are ready to support your next project.