
Misaligned piano hinges can lead to jamming, warped doors, or long-term seal failure on control boxes.
To ensure accurate piano hinge installation on control boxes, measure and mark hinge positions precisely, drill pilot holes with alignment aids, and test the swing before final tightening. Avoid overtightening screws and check for consistent clearances across the entire hinge length.
Precise alignment is the difference between a smoothly operating control panel and one that fails prematurely.
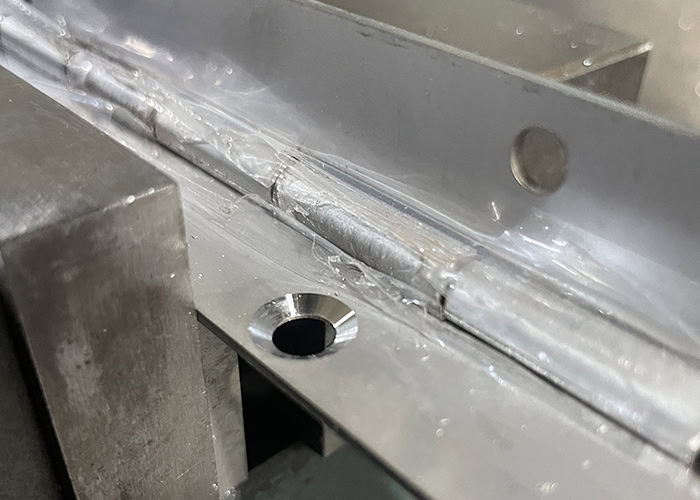
What Is a Piano Hinge and Why It Matters for Control Boxes?
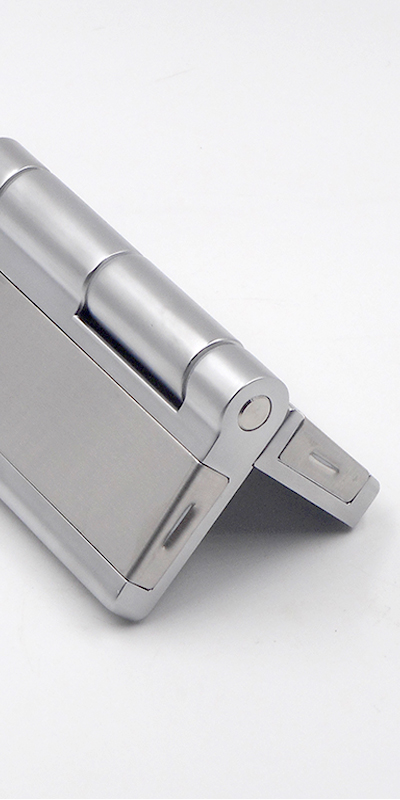
Piano hinges, also called continuous hinges, distribute stress evenly across the length of the door. For control boxes, this reduces sagging and helps maintain sealing integrity over time.
A piano hinge ensures stable and balanced support for metal cabinet doors, especially in applications requiring repeated opening and closing like test equipment or electrical enclosures.
In heavy-duty applications like climate control panels or stainless-steel test chambers, even a 1 mm misalignment can lead to long-term sealing problems. Unlike spot-mounted butt hinges, piano hinges provide better torsional resistance and prevent localized deformation. I’ve found that when dealing with tight IP-rated enclosures, a continuous hinge installation is the only way to avoid moisture ingress under frequent operation.
Choosing the Right Type for the Job
Use aluminum hinges for lighter panels. Switch to stainless if dealing with chemical exposure or high humidity. Concealed models improve appearance but demand tighter installation tolerances.
How to Position and Align the Hinge Correctly
Accurate alignment starts with careful positioning. Mark the centerline of the box edge and door leaf first. Use clamps or a hinge jig to hold the piano hinge in place while marking screw holes. Confirm that both leaves sit flush with the mounting surfaces before drilling.
Most misalignments stem from rushing this stage. Take my advice—avoid mounting the hinge directly to pre-painted or warped surfaces. If you must retrofit, use shims to correct the angle. In thin-gauge sheet metal, the leaf can visibly bow if not pre-flattened or if the box edge isn’t uniform.
Tool Tips for Alignment
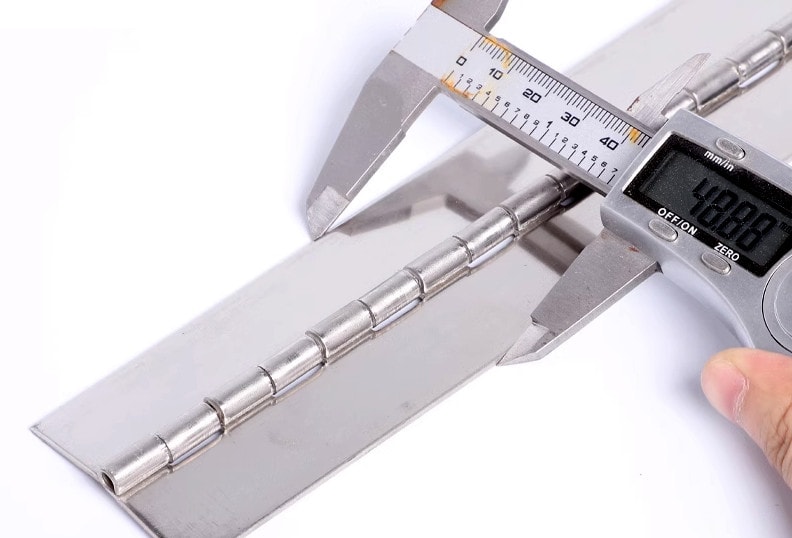
Use a self-centering drill bit or punch to avoid bit walk. For control boxes that use rivnuts, mark out hole spacing with a caliper instead of eyeballing. Clamp both parts shut and dry-fit with screws before making anything permanent.
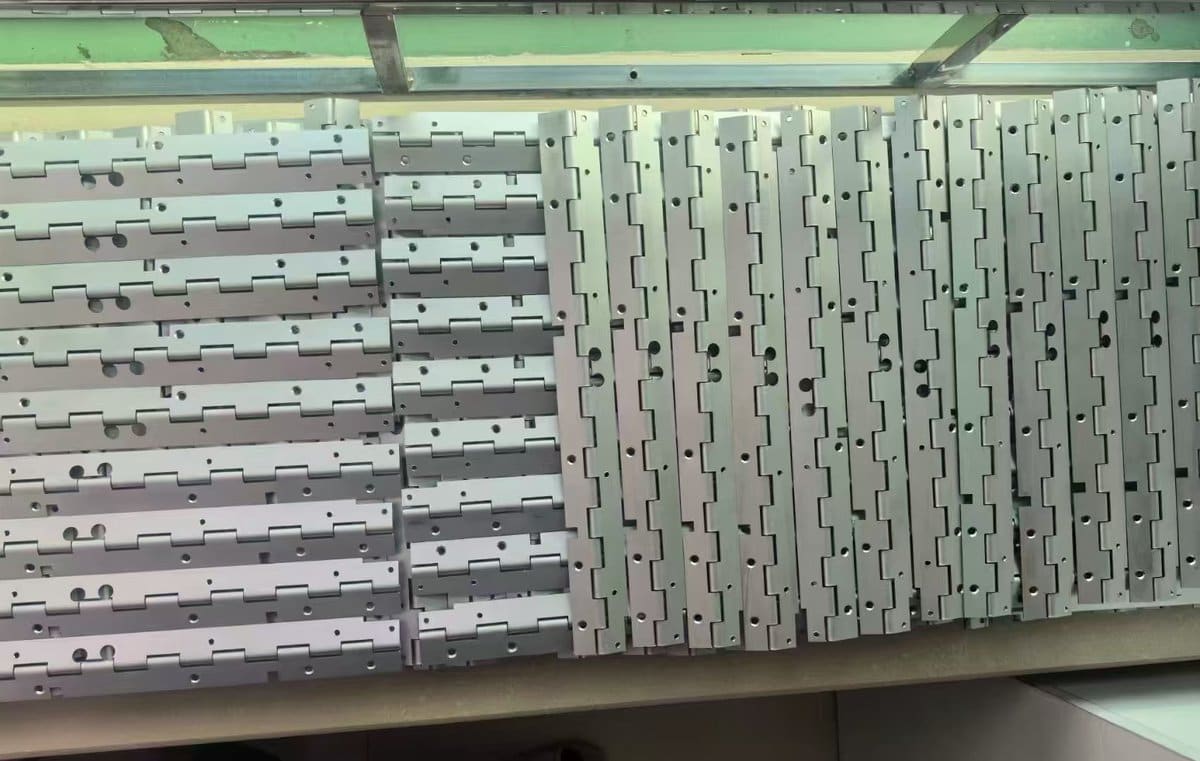
Preparation: Cutting and Surface Handling
Piano hinges rarely come pre-cut to length. To cut a piano hinge, mark the desired length with a scribe, use a fine-toothed hacksaw, and deburr with a flat file to avoid snags.
After cutting, inspect pin ends—burrs can scratch paint or interfere with hinge rotation. I’ve seen installers leave sharp edges on test chamber doors. The result? A customer complaint and thousands in warranty costs. If you work with aluminum piano hinges, clean off any oxidized dust before mounting to avoid long-term discoloration.
Material Compatibility
Match your hinge to the enclosure. Avoid galvanic corrosion between dissimilar metals. In one case, a marine hinge used on an anodized aluminum frame began corroding at the contact point within weeks. Material knowledge matters.
Drilling Pilot Holes and Fixing Hardware
Drilling without planning ruins accuracy. Drill pilot holes smaller than the screw diameter using a center punch for accuracy. Don’t rely solely on self-drilling screws, especially in thin metals.
If the piano hinge spans over 400 mm, divide the screw layout evenly—spacing holes every 60–80 mm depending on door weight. For heavy access panels, increase to 40 mm spacing. Skip this, and the hinge will flex in between fasteners over time.
Fastener Choice Matters
Use machine screws and locknuts when dealing with vibration. For welded-on flanges, consider riveted inserts. Never mix thread types across the same hinge—I’ve seen stripped threads that cost a client $500 in rework.
Hinge Leaf Orientation and Clearance Control
You must choose which hinge leaf mounts where. Typically, the wider leaf mounts to the frame; the narrow leaf to the door. Maintain 1.5–2.0 mm clearance between leaf edge and door to avoid pinch or binding.
Hinges on electrical boxes aren’t just about movement—they’re part of the sealing system. If one side is overtightened and the other floats, the door will never sit square. That’s why during QA inspections, I use feeler gauges to check uniform gaps along the hinge line.
Avoid Compression Misalignment
If your enclosure uses a gasket seal, install the hinge before applying the gasket. This prevents uneven compression during closure.
Testing Swing and Final Adjustments
Once all screws are loosely installed, test door movement. Open and close the door fully to check for scraping, resistance, or sagging. Only tighten screws once motion is confirmed smooth.
If the hinge binds, check for torsional twist or inconsistent screw depths. I once fixed a shipment of control panels where all doors had been mounted closed, with no swing test done. Every unit had to be reworked.
Visual Inspection Checklist
- Check for straight hinge line across full length
- Ensure all screws are seated flush
- Confirm no bowing along the hinge
Avoid These Common Mistakes
Rushing alignment, skipping pilot holes, or cutting corners on fasteners lead to hinge failure. I’ve seen projects where installers used rivets meant for plastic housings on 1.2 mm sheet steel. Within two months, the doors rattled loose. Misalignment causes side-loading on hinge pins—eventually leading to fractures or detachment.
Control Box-Specific Notes
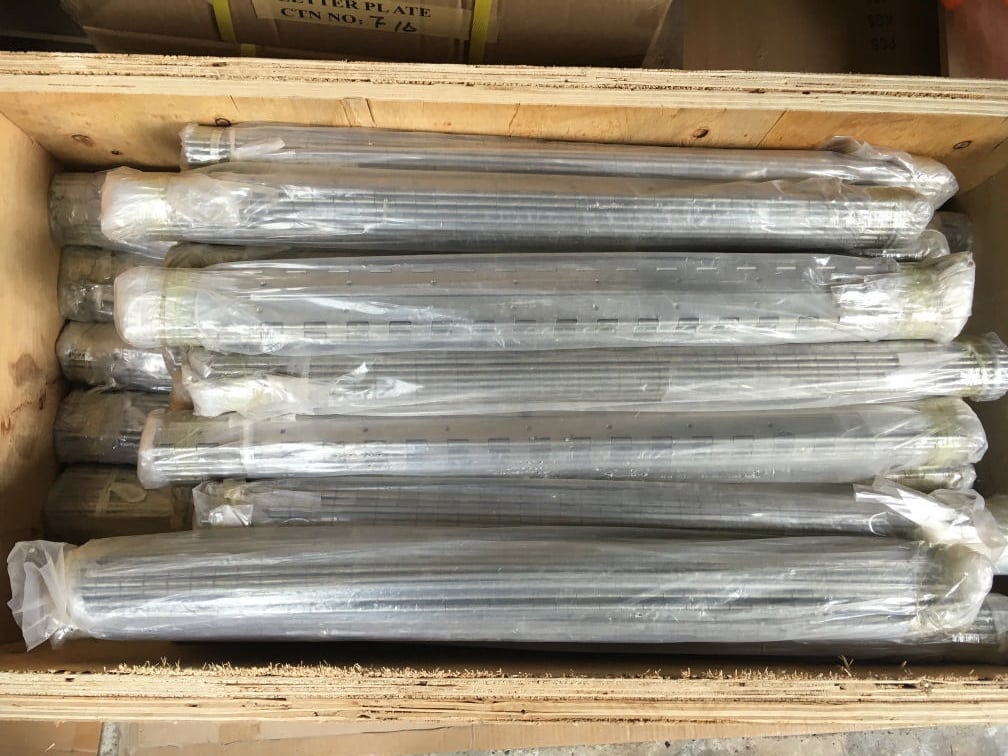
Control boxes require consistent swing and closure pressure. Always plan hinge installation around the final use case—seal compression, opening angle, and load frequency must guide the hinge length and placement.
For stainless test chambers or cold storage room hinges, long-term thermal cycling can lead to material creep. Consider hinges with higher thermal fatigue resistance. Don’t underestimate the difference between a hinge that opens 5 times a day vs. 500 times.
Conclusion
Accurate piano hinge installation is a game of small tolerances with big consequences. Respect the prep work and precision will follow.