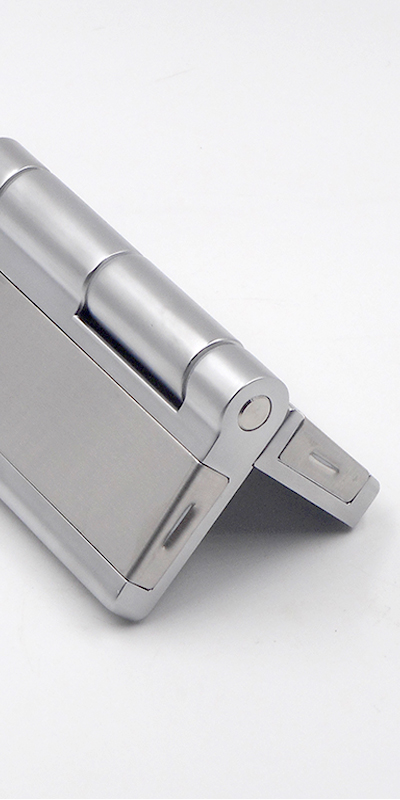

Lamp concealed hinges may look seamless from the outside, but installation in industrial setups reveals complications hidden beneath the surface.
Five common problems during lamp concealed hinge installation include misalignment, load miscalculation, substrate failure, surface imperfections, and lack of final adjustment. Each of these can cause door sagging, operational failure, or even mechanical breakdowns in critical equipment. Understanding and preempting these challenges ensures long-term hinge performance and equipment reliability in industrial environments.
Let’s break down each of these issues from a field-tested, engineer’s perspective.
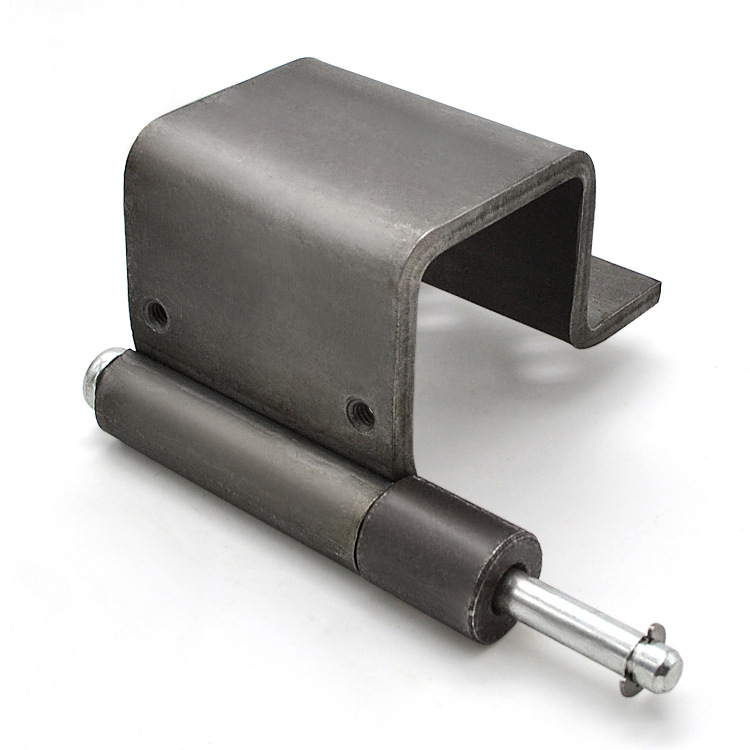
1. Misalignment During Installation Causes Operational Failures
If the hinge cup hole is even 1 mm off, expect trouble. Misaligned lamp concealed hinges result in doors that scrape, won’t seal, or stress the hinge arms prematurely. Precision matters—tolerance stacking is a silent killer in cabinet assemblies.
Misalignment often stems from drilling inaccuracies or inconsistent jig usage. In industrial enclosures, even minor angular deviation can cause a soft-close hinge to slam or bounce back instead of locking into place. With equipment like adjustable concealed hinges, you have minor adjustment leeway, but it’s not an excuse for sloppy initial alignment.
I’ve seen misalignments that cause the hinge to bind against the housing, especially in stainless applications where friction coefficients are higher. For example, in one field installation of a test chamber, a 2 mm offset on the vertical axis led to full door rebound at 75°—a safety issue when personnel were involved.
Common Pitfalls to Watch
| Problem | Result | Suggested Fix |
|---|---|---|
| Hinge hole misaligned vertically | Door bottom drags | Use laser-guided drill guides |
| Hinge rotated off-axis | Door rebound or slam | Use flat reference jigs and templates |
| Tolerance stacking | Stress concentration on hinge arms | CNC pre-mill hinge patterns |
2. Load Miscalculation Causes Sagging and Excessive Wear
Choosing by appearance over capacity is a rookie mistake. Many lamp concealed hinges aren’t rated for heavy industrial doors. Overshooting the hinge’s load rating leads to sagging, hinge arm fatigue, and eventual door failure.
Industrial environments often involve doors exceeding 15 kg, yet I’ve seen hinges designed for residential cabinets installed on power distribution cabinets. The result? Deformation and hinge plate separation in less than three months. You must understand Hinge Weight Rating, not just aesthetics.
When working with doors made of solid steel, I advise opting for reinforced designs like heavy duty flush hinges or combining lamp concealed hinges with load-bearing bottom rollers. One manufacturing partner of mine learned this after repeated failures in their outdoor test chamber line—the doors were rated at 22 kg, but the installed hinges had a max capacity of 15 kg.
Don’t assume “heavy duty” on a spec sheet means robust. Always compare actual torque resistance and fatigue test data.
Torque Check Example
| Hinge Model | Rated Load (kg) | Application Match |
|---|---|---|
| Lamp ML2-009 | 15 | Light electrical panels |
| Lamp ML2-022 | 20 | Medium testing enclosures |
| Heavy-duty long hinges | 25–30 | Heavy tool cabinets |
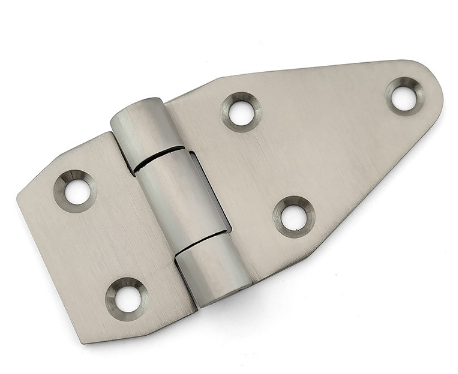
3. Screw Loosening and Substrate Failure Under Vibration Stress
Even the best hinge fails when installed on a weak substrate. Lamp concealed hinges require strong anchoring. Under vibration, standard screws loosen, and in thin-gauge metals, threads can strip entirely, compromising the entire installation.
In factories, the continuous hum of motors and machines creates low-frequency vibration that slowly backs out fasteners. I’ve personally replaced Electrical Panel Hinges where door play exceeded 8 mm due to sheared threads in 1.2 mm sheet metal.
Using threadlockers isn’t enough. The mounting surface must be reinforced with welded nuts or backing plates. For critical use-cases, especially in mobile units like trailers, consider replacing with heavy duty weld on hinges where vibration transfer is better absorbed through the frame.
A North American HVAC OEM reported a 3% field failure rate due to hinge loosening until they shifted to blind rivet nuts paired with M6 screws torqued at 5 Nm.
Substrate Anchoring Methods
| Substrate Type | Problem | Recommended Fix |
|---|---|---|
| 1.0 mm metal sheet | Thread stripping | Use press-fit or rivet nuts |
| Plastic composites | Screw pullout | Add metal insert blocks |
| Hollow frames | No thread grip | Switch to weld-on or through-bolt design |
4. Surface Imperfections and Poor Cutout Accuracy Lead to Binding
A hinge hole isn’t just a hole—it’s a precision interface. Inaccurate cutouts cause hinge arms to bind, especially with tight-tolerance products like lamp hinges. Misfits lead to restricted movement and long-term hinge fatigue.
Holes cut using handheld drills or jigs without depth stops often create taper or tear-out. This affects the hinge’s rotation axis, causing scraping noises or jumpy motion. A client in Singapore experienced repeated Friction hinges in industrial applications failures due to poor bore consistency—eventually switching to CNC routing resolved it.
The hinge pocket depth must match manufacturer specs exactly—if 0.2 mm too deep, the hinge plate may bottom out, warping over time. Always measure door thickness and calculate hinge overlay based on true dimensions, not nominal values.
Factory-wide standardization is key. Batch inconsistencies cause alignment nightmares during final assembly.
Tolerance Targets
| Feature | Recommended Tolerance |
|---|---|
| Cup hole diameter | ±0.1 mm |
| Cup hole depth | ±0.2 mm |
| Edge-to-cup spacing | ±0.5 mm |
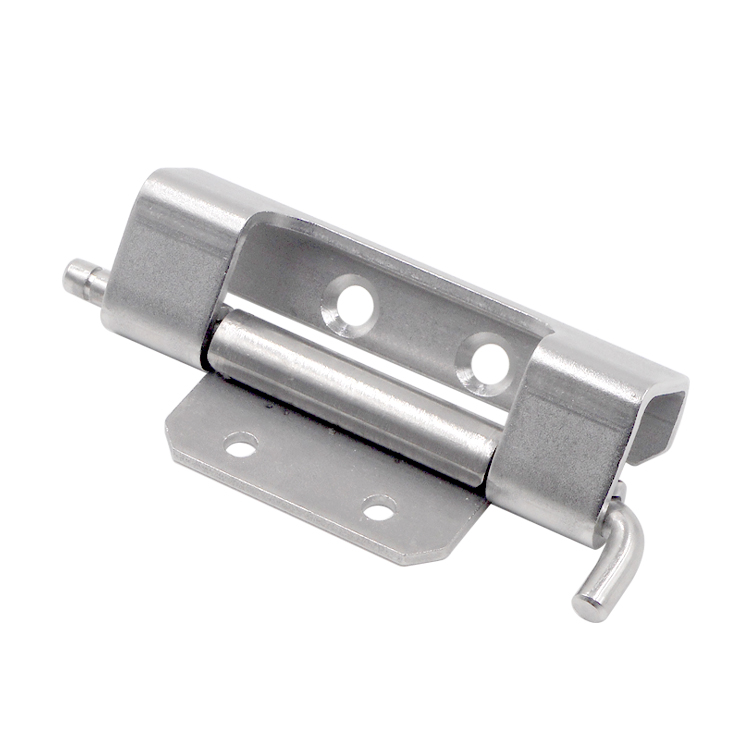
5. Insufficient Adjustment and Testing Before Commissioning
Hinges aren’t “install and forget” parts. Post-install adjustment is essential. Without it, doors won’t align, soft-close won’t engage, and mechanical loads will concentrate unevenly across the hinge arms.
Lamp concealed hinges offer 3-way adjustability—vertical, depth, and side—but most installers ignore it. I worked on a large control cabinet install in Israel where misaligned doors caused a false seal and condensation buildup inside the unit. The hinge was fine—the lack of adjustment was the issue.
Always conduct full-cycle tests after mounting. Open and close the door 20–30 times and check for smooth motion. Use dial indicators to confirm repeatable alignment. This matters especially when using hinges with dampening features or spring returns, like Spring Loaded Butt Hinges, where preload tuning affects return angle. Your final QA should include hinge angle verification and soft-close consistency across units.
Field Test Checklist
-
Door closes flush without rebound
-
Soft-close engages within final 20°
-
Hinge arms remain parallel under full load
-
No excessive play after vibration cycle
Conclusion
Lamp concealed hinge problems often begin with overlooked technical details. Addressing load capacity, vibration effects, and precision machining at the start prevents costly rework and field failures. If you’re looking for reliable, custom industrial hinges, IHINGES is here to help—we’ve been making precision hinges for years. Just send us your specs, and we’ll get you a solution that works in the real world.