Problem: Piano hinges, known for their long, continuous design, offer durability and stability in various applications such as cabinetry, furniture, and doors. However, installing them can be intimidating due to their size and the precision required.
Agitate: Incorrect installation can lead to misaligned doors or cabinets, which can compromise both functionality and aesthetics. This makes it crucial to understand the right techniques and tools for a successful installation.
Solution: This guide aims to demystify the process, providing a step-by-step approach to ensure your piano hinge installation is seamless and professional. Whether you’re a DIY enthusiast or a seasoned carpenter, these tips will enhance your skills.
Understanding Piano Hinges
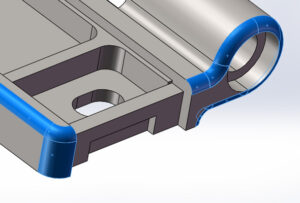
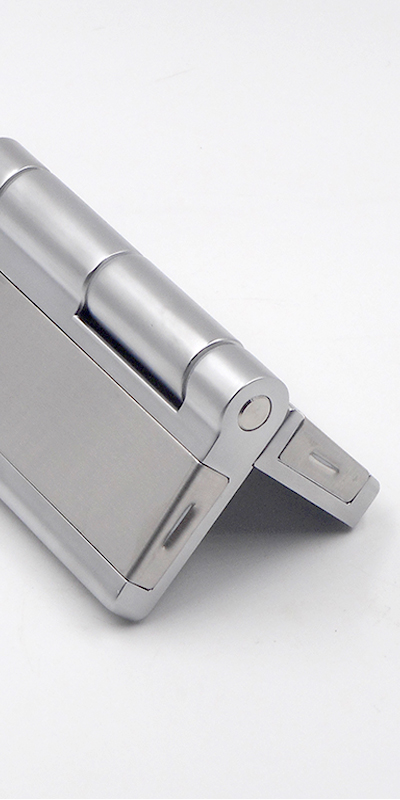
Piano hinges, also known as continuous hinges, run the entire length of the door or panel they are attached to. This design distributes weight and stress evenly, making them ideal for heavy or frequently used doors. Their slender profile offers a clean, almost invisible look when the door is closed.
Choosing the right piano hinge for your project is crucial. They come in various lengths, widths, and materials, including brass, stainless steel, and aluminum. Consider the weight of the door and the aesthetic you desire when selecting a hinge. For outdoor applications, opt for weather-resistant materials.
Tools and Materials Needed
Before you begin, gather all necessary tools and materials. You will need:
- A piano hinge of the correct size and material.
- Screws appropriate for the hinge and the material of the door/panel.
- A screwdriver or drill with a screw bit.
- A tape measure for accurate placement.
- A pencil for marking.
- A hacksaw or metal shears (if the hinge needs trimming).
- A level to ensure proper alignment.
Ensure your tools are in good condition. A drill with adjustable torque settings is preferable for controlling the depth and force of the screwing.

Preparing the Door and Frame
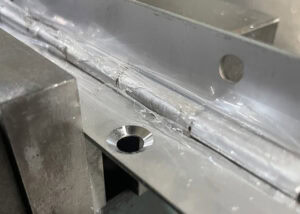
Measure the door or panel and the frame where the hinge will be installed. If the piano hinge is longer than needed, mark the required length and cut it using a hacksaw or metal shears. File down any sharp edges after cutting.
Align the hinge with the door edge, ensuring it is straight. Use a level to check. Mark the screw holes with a pencil. If installing on a hollow door, ensure the screws will grip into the solid material.
Attaching the Hinge to the Door
Start by attaching one leaf of the hinge to the door. Position the hinge so that the pin line is just off the edge of the door. This ensures a proper opening. Secure the hinge with screws at each end first, then fill in the remaining holes. Avoid overtightening the screws to prevent warping.
Attaching the Hinge to the Frame
With the hinge attached to the door, align it to the frame. It’s crucial to ensure the door is level and at the correct height. Prop the door up if necessary. Mark the frame through the screw holes, then attach the hinge using the same method as with the door.

Fine-Tuning and Adjustments
Once installed, open and close the door several times to check for smooth operation. If the door sticks or is misaligned, slightly loosen the screws and adjust the position. Check the alignment with a level.
Maintenance Tips
Piano hinges require minimal maintenance. Regularly check the screws for tightness and lubricate the hinge pin with a light oil annually to ensure smooth operation.
Common Mistakes to Avoid
- Not measuring accurately, leading to misalignment.
- Over-tightening screws, causing the hinge or door to warp.
- Ignoring the material of the door, which can affect screw choice.
Safety Considerations
Always wear protective gear like gloves and safety glasses when cutting metal. Be cautious with power tools and ensure they are in good working order.
Additional Uses of Piano Hinges
Piano hinges are not just for doors. They are also used in fold-down tables, long storage boxes, and other furniture requiring a long, sturdy hinge.
Conclusion
Installing a piano hinge can be straightforward with the right tools, techniques, and patience. This guide aims to equip you with the knowledge to tackle this task confidently, ensuring a professional finish.
You might also be interested: